Monday, October 26, 2009
2008-2009 Projects
2nd floor before (2)
2nd floor before (3)
2nd floor before (4)
2nd floor family bathroom / baby room - during
2nd floor baby room - after
2nd floor family bath after
2nd floor master bath - during
2nd floor master bath after
2nd floor master bath after (2)
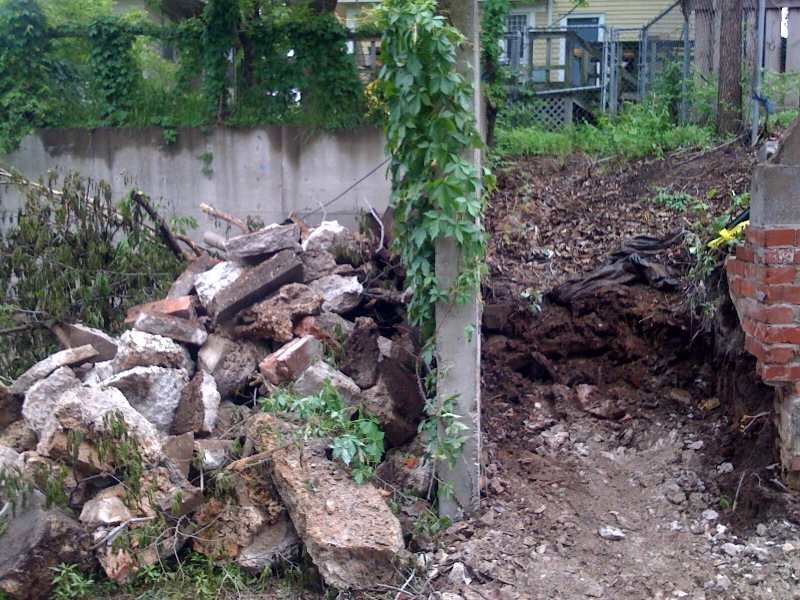
Back yard - before (1)
Backyard - during
Backyard - during
Back yard - after
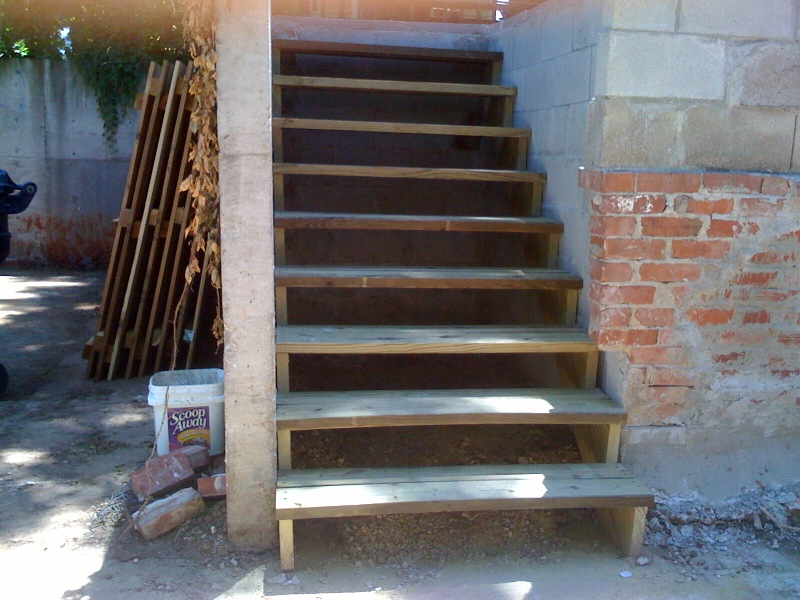
Back yard stairs - during
Basement Den - before
Den - after (1)
Den - after (2)
Thursday, August 6, 2009
Cincinnati Chili Recipe
I'm attempting to wean myself of Cincinnati Chili seasoning envelopes that I need to have friends and family mail me from Ohio. At first glance, this recipe found on-line looked pretty close, so I'm making some adjustments to match how I normally make Cincinnati Chili. We'll see how it goes.
http://whatscookingamerica.net/Beef/CincinnatiChili.htm
Cincinnati Chili Recipe
1 large onion chopped 1 large
onion peeled and scored
1 pound extra-lean ground beef or venison
1 clove garlic, minced
1 tablespoon chili powder
1 teaspoon ground allspice
1 teaspoon ground cinnamon
1 teaspoon ground cumin
1/2 teaspoon red (cayenne) pepper
1/2 teaspoon salt1 1/2 tbsp unsweetened cocoa or 1/2 ounce grated unsweetened chocolate 1 (15-ounce) can tomato sauce 1 8 oz can of
tomato paste
1 tablespoon Worcestershire sauce
1 tablespoon cider vinegar1/2 cup water 3 cups water
1 (16-ounce) package uncooked dried spaghetti
pasta
Toppings (see below)
We usually double this recipe and freeze leftovers in small 1-2 serving containers.
In
a large frying pan pot or Dutch oven overmedium-high heat, combine all ingredients except
for beef and the scored onion. saute onion, ground beef, garlic, and Bring
chili powder until ground beef is slightly cooked. Add allspice, cinnamon,
cumin, cayenne pepper, salt, unsweetened cocoa or chocolate, tomato sauce,
Worcestershire sauce, cider vinegar, and water.
to a boil and add beef to the liquid separating beef as finely as possible.
Make sure all is combined finely and evenly with a whisk or a fork. Add scored
onion. Reduce heat to low and simmer, uncovered, 1 1/2 hours. Remove
from heat.
Cook
spaghetti according to package directions and transfer onto individual serving
plates (small oval plates are traditional).
Ladle
chili over spaghetti and serve with toppings of your choice. Oyster crackers
are served in a separate container on the side.
Toppings:
Oyster Crackers
Shredded Cheddar Cheese Chopped Onion
Kidney Beans (16-ounce) can I prefer Black Beans
Makes
6 to 8 servings.
Thursday, June 25, 2009
Audio Palindrome
Try it here:
http://www.koktavy.net/tmp/youarepretty(reverse).mp3
------
http://www.iansouter.com/brain/sounds/youarepretty.mp3
http://iansbrain.com/2007/12/19/audio-palindrome/
This is an audio palindrome I found while working on a lipsync animation one
time. It sounds the same whether you play it forwards or backwards. Download
the MP3 and give it a try. The sound files is a clip of Statler and Waldorf
from the Muppets.
Monday, June 15, 2009
Smoked Pulled Pork Recipe (shortcut)
My shortcut recipe takes about 10 hours of low maintenance time using a regular Weber grill and a crock pot -- a dish we serve two or three times a year typically for large gatherings. This shortcut does not achieve the balance of crispy and moist that a well smoked shoulder would, but is nonetheless a great dish and introduction to smoking without delving into the time and equipment necessary to maintain a steady 200 degrees F for up to 24 hours.
Ingredients and equipment:
- 1 Pork shoulder
- 1 jar mustard powder
- charcoal
- chunk hardwood (I use mesquite or our native pecan wood.)
- charcoal grill
- foil double loaf pan
- crock pot
- instant read thermometer
- BBQ sauce & buns
Place the shoulder fat side up over the pan. Place cover on with vents open and heavily smoke the meat for 2-3 hours. Additional wood need not be added.
Transfer the meat to a large crock pot and cook on high for approximately 7 hours. Check the internal temperature with an instant read thermometer. The temperature should reach 175 degrees F and the meat should fall off the bone and be easy to "pull" with two forks. Remove bone, turn crock to low and serve when desired.
Serve on buns with your favorite BBQ sauce.
Thursday, June 11, 2009
Summer Projects
- Complete the security gate on the alley entrance. (Having a metal shop fabricate something this week.)
- Remove trees along East fence line and continue setting fence posts and hanging cedar panels. Build SE kid/dog gate and set another steel security gate.
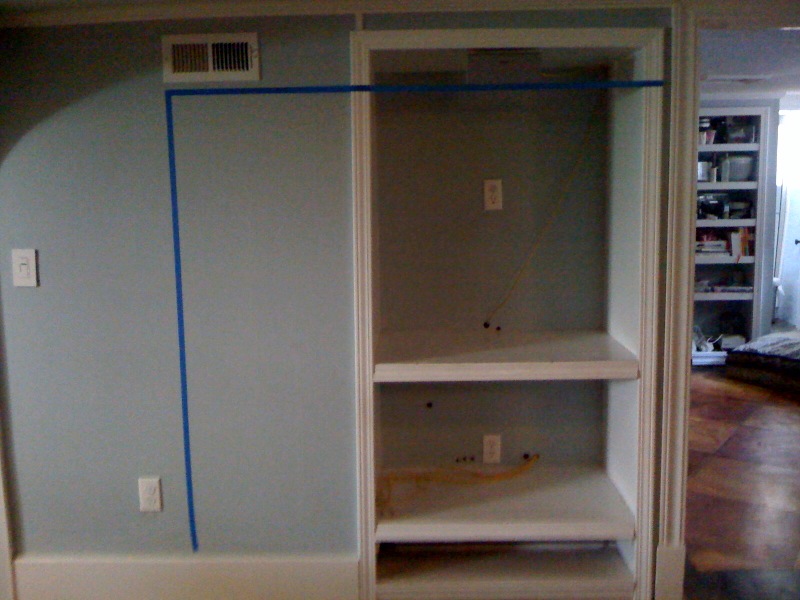
- Reconfigure the built-in media center to accommodate an HDTV.
- Replace glass fronts on McIntosh power amplifier and pre-amplifier.
- Do network and cable wiring for guest room xbox and tivo.
- Move personal computing off of Vista and over to Ubuntu.
- Try to get boxee or some other PC based streaming media server operational for new HD setup.
Monday, May 11, 2009
Spring Family Projects
DIY - Media Server to replace all (or most) of the kid DVDs
Tuesday, May 5, 2009
DIY - Period appropriate trim
There are several generations of trim throughout the house. My goal was to get the look of the room back to what it probably was in 1910. The house is a Prairie Style American Foursquare.
Before: (Note 1/4" oak flooring, no longer mass produced, was repaired using salvage material from closets and another room.)
Base:
As far as I could determine most of the original base was 1x8 Douglas fir routed
with a shallow round. There wasn't much of this left in the house.
(I won't go into the other generations of trim here.) Routing 1x8 (or
1x10) white pine was my plan B. I wanted something a little more ornate
and I wanted something 8+". I searched high and low at all of the home
improvement places and local trim shops. Couldn't find the base I needed.
It was all short, <8", a dull style, or made of some composite material.
I went with a standard pine base cap and a standard 11/16x11/16 shoe. The
base I decided on was pine exterior siding. The cap sat on it perfectly
and it gave me the marriage of the height I wanted along with the flourish of
the cap and base.
Windows: As far as I could tell the original window trim was 1x6 doug routed with a shallow round. (Again, I won't go into the previous generations of window trim.) The tops of the windows had crown molding. Apparently the old crown was solid where the new crown leaves a void where you don't see it (?) Found something close enough and it looks great. (I believe it is 2 1/4" bed moulding as I have since used this in several areas of the house.
Almost done. Still need
to do door hardware, closet light, and vent covers.
Trooper relaxing in one of his new rooms.
Hello
This may be a place for long-form thoughts or minimally, may serve as my home base.